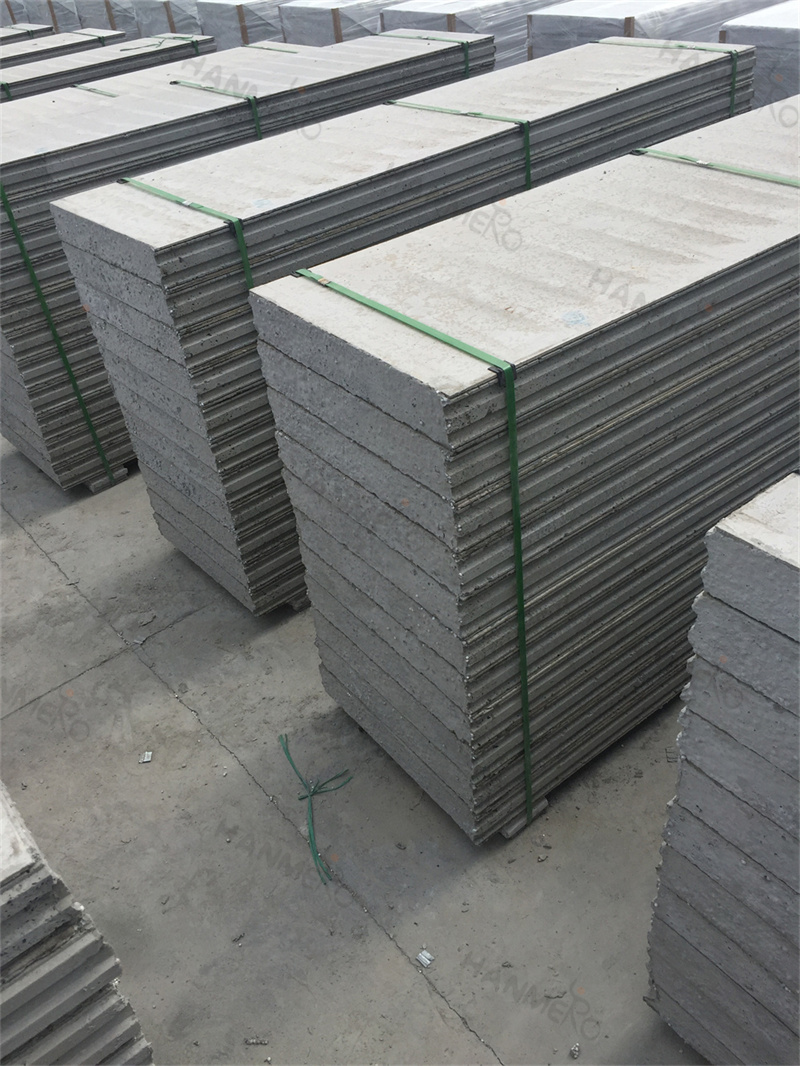
Installing EPS Cement Sandwich Panel for office partitions is a very straightforward process, especially when compared with the complicated construction steps of traditional brick walls. As long as you follow the correct step by step installation guide, even a construction team with basic experience can complete the whole project smoothly, and get a stable, flat and long lasting partition wall that meets all office usage requirements.
The first step before installation is site measurement and layout marking. First, clean the installation area on the office floor, and use a professional level and ink line marker to draw the exact position line of the partition wall on the floor, the corresponding position line on the ceiling, and the position lines on the adjacent vertical walls. Make sure all lines are completely straight and level, as this will directly affect the flatness of all subsequent panels. At this stage, you also need to mark the positions of all door openings, wire holes and reserved holes for air conditioners or other office equipment, to avoid unnecessary cutting work after the panels are installed.
The second step is to install the top and bottom fixing tracks. Use special U shaped metal tracks that match the thickness of your EPS Cement Sandwich Panel. Fix the bottom track on the floor along the pre drawn position line with expansion bolts, and fix the top track on the ceiling structure in the same way. Make sure both tracks are perfectly aligned, so that the panels inserted into the tracks will stay completely vertical. If the office floor or ceiling has minor uneven areas, you can use thin gaskets to adjust the tracks to keep them level.
The third step is to install the EPS Cement Sandwich Panel one by one. Insert the first panel into the top and bottom tracks, adjust it to a completely vertical position with a level ruler, and then fix it firmly with special connecting accessories. For the connection between two adjacent panels, apply a proper amount of dedicated joint mortar on the side tenon of the previous panel, and then push the next panel tightly against it, making sure there is no gap between the two panels. Continue this process until all panels are installed, leaving the reserved positions for door openings and equipment holes. You can cut the EPS Cement Sandwich Panel to the required size easily with a professional panel cutting saw on site.
The last step is joint treatment and surface finishing. After all panels are firmly installed, fill the small gaps between panels and around the door openings with joint filler, then paste special anti crack joint tape on the surface of all joints. After the filler is fully cured, you can carry out simple putty leveling work on the joint positions. At this point, the main body of the EPS Cement Sandwich Panel office partition is completed, and you can directly carry out subsequent decoration work such as painting, wallpaper pasting or installing wall decoration materials. The whole process uses dry construction almost all the way, producing very little dust and construction waste, making it very suitable for office renovation environments that require minimal disturbance.