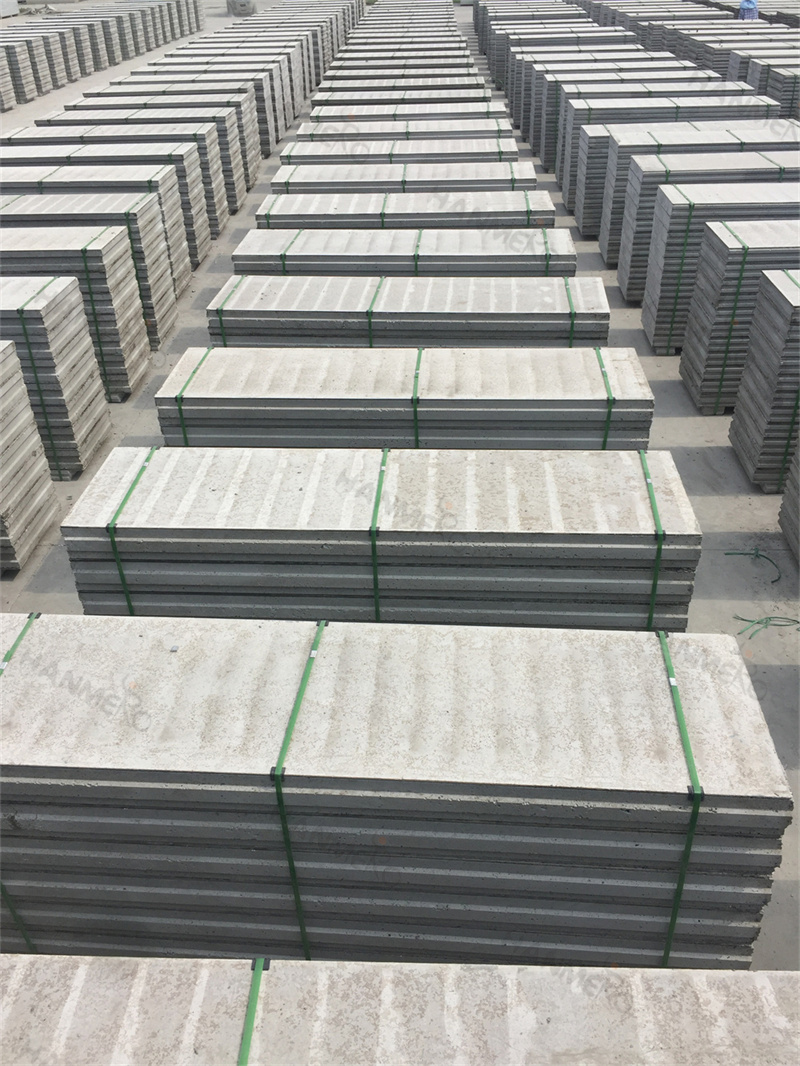
Applying a high quality paint finish to your EPS Cement Sandwich Panel walls is a simple process that almost any construction crew or DIY homeowner can complete successfully, as long as you follow the correct step by step preparation and application steps. First, you need to make sure the entire surface of the EPS Cement Sandwich Panel is completely dry, free of dust, loose cement particles, grease stains, and any leftover sealant residue from the installation process. Use a fine grit sanding block to lightly smooth down any small rough spots or uneven edges on the panel surface, then wipe the entire wall down completely with a clean dry cloth to remove all sanding dust. Next, apply a full even coat of high quality cement board compatible primer across the entire surface of the EPS Cement Sandwich Panel, and allow the primer to fully cure for the exact amount of time specified by the paint manufacturer. Once the primer is fully dry, you can apply your first top coat of 100% acrylic exterior or interior latex paint, using a medium nap paint roller to get a smooth even coverage across every part of the panel. For maximum durability and UV protection, apply a second full top coat after the first coat has completely dried. This simple process will leave you with a professional quality paint finish that will stay intact and protect your EPS Cement Sandwich Panel for many years.


