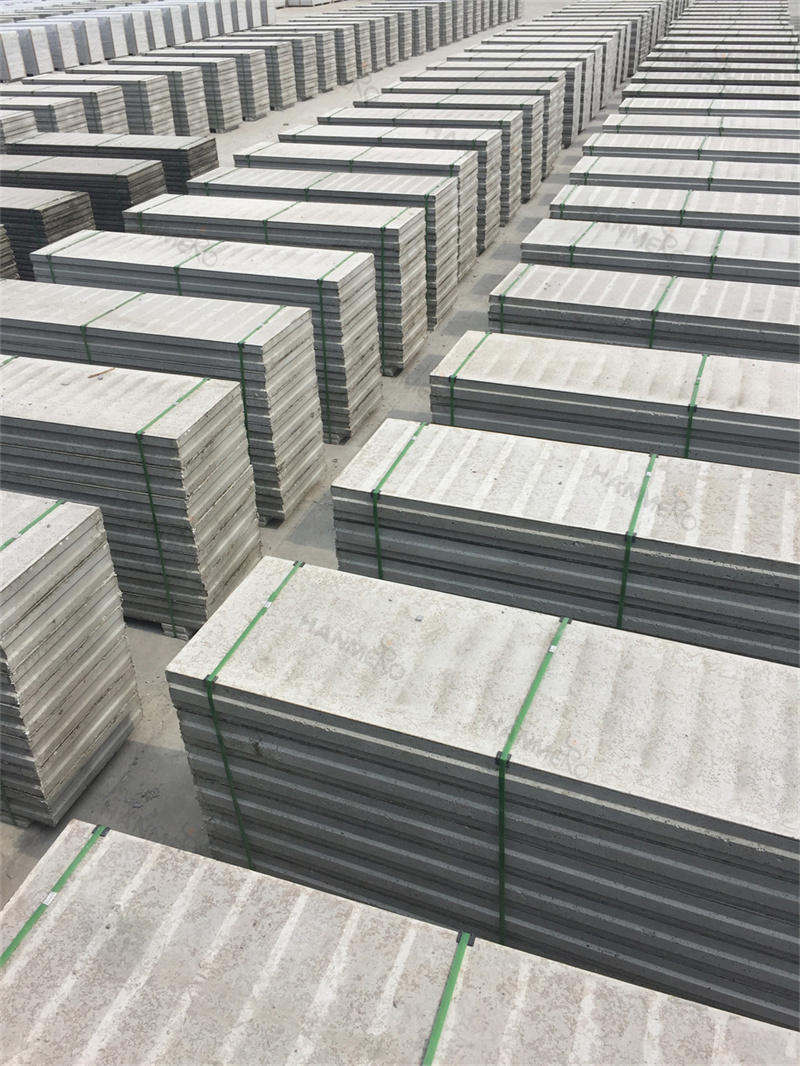
Painting the walls of your newly renovated office that use EPS Cement Sandwich Panel is a very simple process, but there are a few key best practices you need to follow to get a perfectly smooth, long-lasting professional finish that looks great for years. First, you need to wait at least 72 hours after the panel installation is complete, to make sure all the joint sealant and compound between adjacent panels has fully cured and dried completely. Next, use a fine 200-grit sandpaper to lightly sand the entire wall surface, just to smooth out any small uneven spots at the panel seams, and wipe away all the generated dust completely with a dry microfiber cloth. You do not need to apply a special primer for EPS Cement Sandwich Panel, but using a standard high-quality latex wall primer will help the topcoat adhere better and create an even more uniform final finish. Once the primer is fully dry, you can apply your first coat of standard office interior latex paint using a medium-nap paint roller, working from top to bottom in long, even strokes. After the first coat dries completely, apply a second thin coat of paint, and you will get a perfectly smooth, seamless wall finish that looks exactly like a traditional plastered masonry wall. Unlike porous drywall that absorbs a huge amount of paint, the low-absorption surface of EPS Cement Sandwich Panel uses 30 percent less paint to get full coverage, which saves you extra money on decoration material costs. Many office renovation teams have reported that the paint finish on these panels stays in perfect condition for more than 10 years without peeling or cracking, even in high-traffic office zones that get a lot of daily wear and tear.


