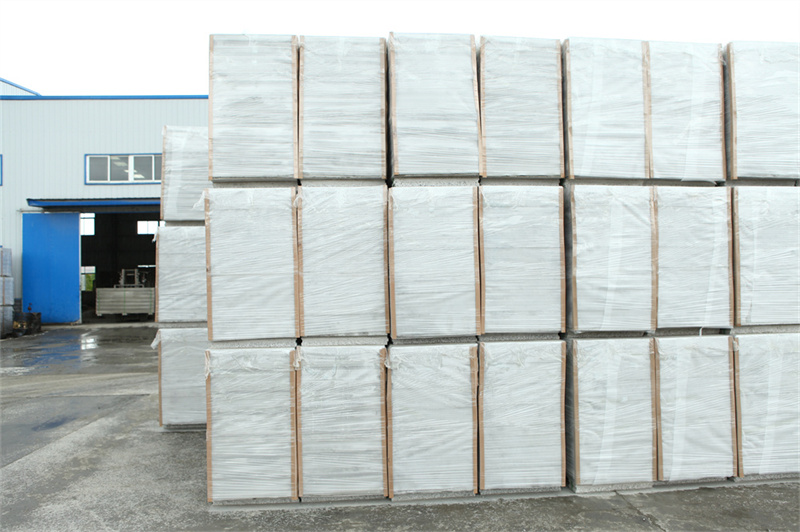
The major design advantage of the easy installation EPS panel is how it simplifies the technical steps required to build a plumb, solid, and paint-ready wall. By following a clear, standardized installation process, field crews can quickly erect interior partitions while avoiding common installation errors.
Setting the Baseline: Technicians mark clear layout lines along the floor, ceiling, and structural columns using laser levels to ensure the panels align perfectly.
Sizing the Panel: The lightweight panel is cut to the exact height required using a standard portable circular saw.
Applying the Joint Adhesive: A specialized polymer-modified cement mortar is applied along the tongue-and-groove edges of the panel to ensure a solid bond.
Erecting and Anchoring: The panel is lifted into place, fitted into the previous panel's groove, and secured to the floor and ceiling beams using L-shaped steel brackets and expansion anchors.
Finishing the Seams: Anti-crack fiberglass mesh tape is embedded into the joint seams, creating a continuous, perfectly smooth wall surface that is immediately ready for skimming and final painting.


