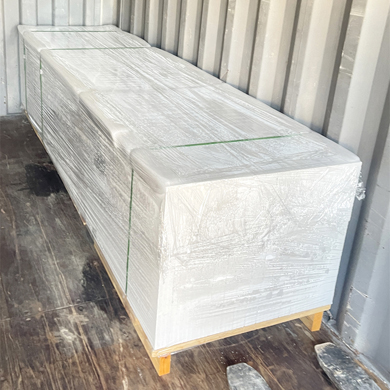
Fast and standardized installation is key to ALC wall panel performance. This step-by-step guide helps you complete stable, durable, and crack-free ALC partition walls.
1. Site Preparation & Marking Clean the floor, ceiling, and column surfaces; mark panel positions, door openings, and electrical lines to ensure accurate layout.
2. Tool & Material Preparation Prepare ALC panels, special adhesive, sealant, U-clips, expansion bolts, level, rubber hammer, and cutting tools. Use matching accessories to avoid loosening or cracking.
3. Panel Installation Apply special adhesive to panel joints; place panels vertically along marking lines; adjust verticality and level. Use U-clips to fix panels to structure at proper intervals. For long panels, add upper and lower fixings for stability.
4. Joint & Gap Treatment Fill vertical and horizontal joints with adhesive; seal top gaps with foam agent and level after curing. Paste joint mesh belt to prevent surface cracking.
5. Finishing & Acceptance Check flatness, verticality, and firmness; perform putty and decoration after joints fully cured.
Professional tips: use dry construction to shorten duration; avoid forced bending; control joint width within 3–5mm; follow manufacturer specs for accessories. Proper installation ensures long service life and stable performance.