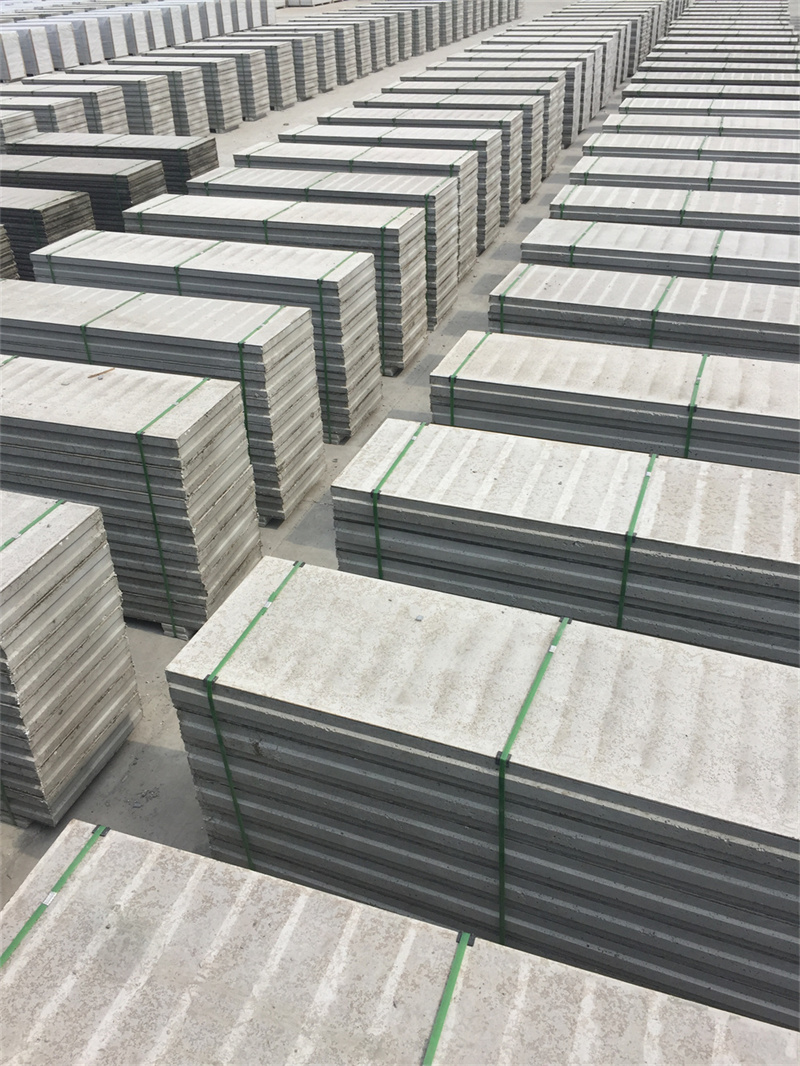
Proper installation is the key to unlocking all the performance advantages of an EPS cement sandwich wall panel, and following standardized procedures will ensure your wall stays durable, stable and high-performing for decades. Before you start working with an EPS cement sandwich wall panel, you need to prepare basic tools including a spirit level, electric drill, special adhesive mortar, and fixed connecting parts designed for the panel.
The first step to install an EPS cement sandwich wall panel is to clean the base floor and mark the exact position of each panel according to the construction drawing. Next, apply a 2cm thick layer of special adhesive on the bottom of the position, then lift the EPS cement sandwich wall panel into place, adjust it with a spirit level to make it completely vertical, and fix it with corner connectors at the top and bottom. After placing the adjacent EPS cement sandwich wall panel, fill the gap between the two panels with sealing mortar, and use a fiberglass mesh tape to cover the joint to prevent cracks.
It is important to note that you should not apply heavy paint or tiles on the surface of an EPS cement sandwich wall panel within 72 hours after installation, to make sure the adhesive is fully cured. When you need to run electrical wires or water pipes inside an EPS cement sandwich wall panel, you can use a special grooving machine to carve shallow slots on the panel surface, which will not damage the overall structural strength of the wall.