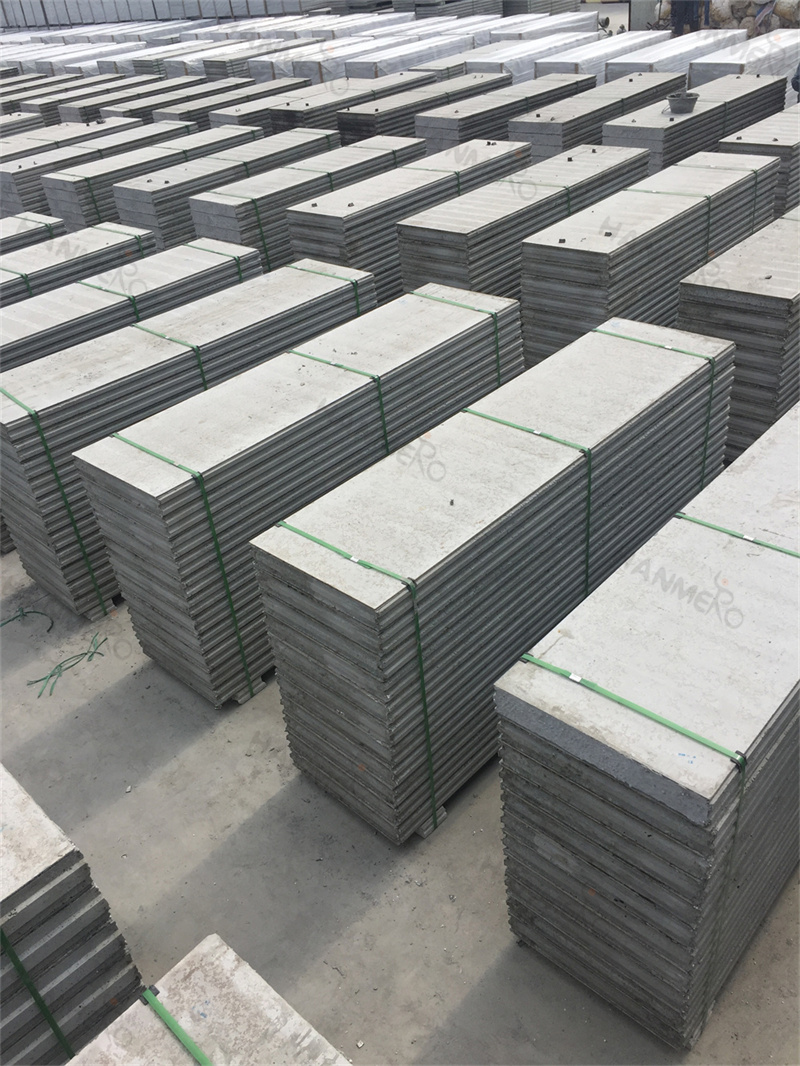
Many first-time users of EPS Cement Sandwich Panel are surprised to find that the installation process does not require highly skilled masons or complicated specialized equipment. With basic construction tools and clear step-by-step guidance, general construction workers or even experienced DIY builders can complete a professional-quality wall installation efficiently. Before starting any installation work, it is essential to prepare all required tools and materials in advance to avoid unnecessary pauses during the construction process. The basic tool list includes a circular saw or hand saw for cutting panels to custom sizes, a 1 to 2 meter spirit level, a rubber mallet for adjusting panel positions, a trowel for spreading adhesive, a laser level or plumb bob for vertical alignment, a measuring tape, chalk line, electric drill with mixing paddle, panel lifter or crowbar, and complete safety equipment including gloves, goggles and dust mask.
The first formal step of installing EPS Cement Sandwich Panel is site preparation and material alignment. You need to clean the installation area thoroughly, mark the position lines of the walls on both the floor and the ceiling using the chalk line, and pre-cut all panels according to the measured dimensions of the site. It is important to leave a small expansion gap of 5 to 8 millimeters at the bottom and top of each panel to accommodate minor structural movement of the building. After the preparation work is finished, you can start the first panel installation: apply a continuous bead of special panel adhesive or cement mortar on the bottom contact surface, place the first EPS Cement Sandwich Panel into position, use the laser level to check its verticality, and tap it gently with the rubber mallet to adjust it to the exact marked position.
After the first panel is correctly positioned, fix it to the surrounding building structure using L-shaped steel angles and 6 to 8 millimeter diameter steel dowels. Then apply adhesive on the side edge of the first panel, and install the next EPS Cement Sandwich Panel tightly against it, making sure the joint between the two panels is fully filled with adhesive without any gaps. Repeat this process until the entire wall section is completed. Once all panels are in place, you need to cover all the panel joints with special fiber mesh joint tape, then apply joint putty to smooth the seams. This final finishing step ensures that the wall surface is completely flat, ready for subsequent painting, tiling or other decorative treatments. The entire installation process for a standard 10 square meter partition wall can usually be completed by two workers in less than half a day, which is more than 5 times faster than building a traditional brick wall of the same size.