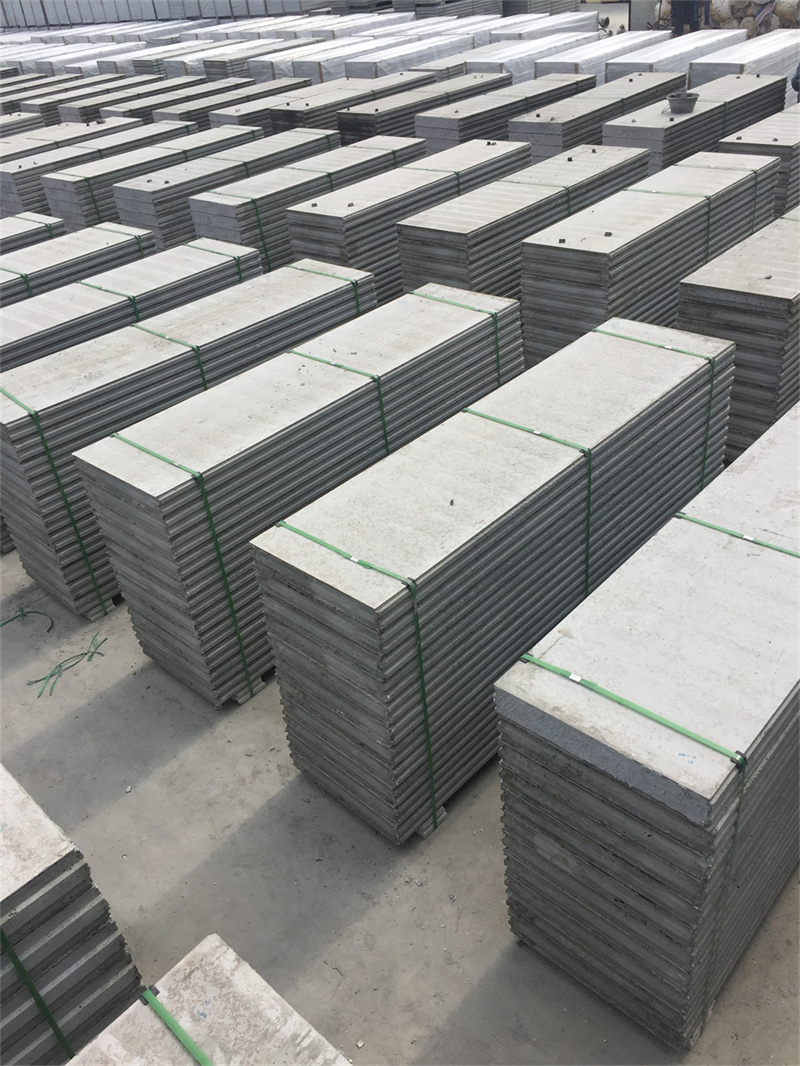
Traditional bricklaying requires skilled masons, mortar mixing, curing time, and heavy plastering. EPS panels come prefabricated. A small crew of 3–4 workers can install up to 100–150 square meters of wall per day, reducing total labor hours by up to 60%.
Because EPS panels weigh roughly $1/3$ to $1/5$ of solid concrete walls, architects can design lighter structural foundations and reduce structural steel tonnage without compromising safety.
Pre-cut panels produce minimal job site debris. No messy sand-cement mixing means lower cleanup costs and easier compliance with environmental regulations.
Installing EPS cement sandwich wall panels is straightforward when following these core steps:
[1. Baseline & Alignment] ➔ [2. Panel Cutting] ➔ [3. Apply Adhesive Mortar] │ [6. Finishing & Coating] [5. Joint Tape & Anti-Crack] [4. Panel Erection & Calibration]
Mark the wall positioning lines on the floor, wall, and ceiling using a laser level and chalk line.
Measure the required height and cut the EPS panel to size using a portable electric circular saw.
Apply specialized polymer anti-crack mortar along the tongue-and-groove edges of the panel and along the connection lines on the floor and ceiling.
Position the panel vertically, fit the tongue-and-groove joint tightly against the adjacent panel or structural column, and secure it using a crowbar. Check vertical alignment with a spirit level and temporarily fix it with wooden wedges.
Drive steel L-brackets or rebar anchors into the top, bottom, and side joints to lock the panels to the main structure. Apply joint tape over the seams with anti-crack mortar to prevent surface hairline cracks.
Because the face sheets are flat and smooth, no heavy plastering is needed. You can directly apply putty, paint, tile, or wall covering onto the surface.
Adopting EPS cement sandwich wall panels is one of the most effective ways for contractors and project owners to trim construction budgets without sacrificing quality or compliance. Fast installation, minimal waste, and lightweight handling combine to maximize your project ROI.


