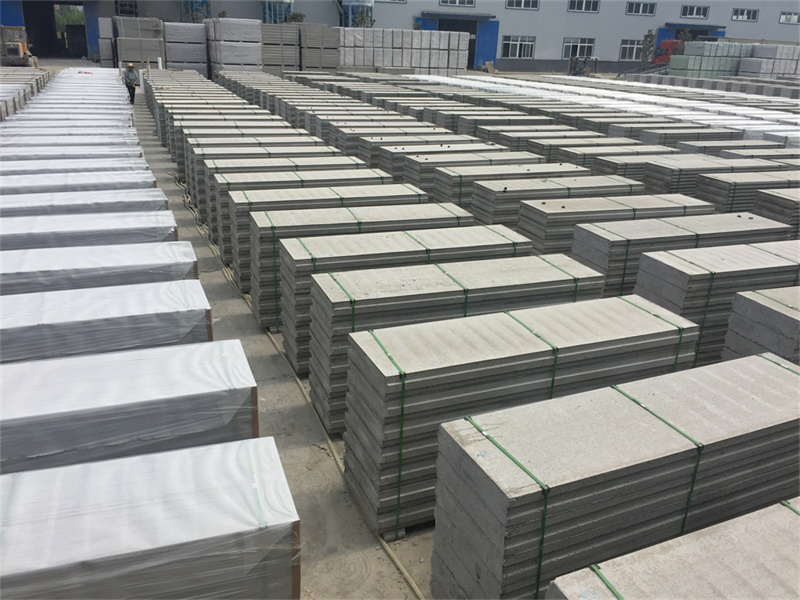
Correct installation is essential to maximize the service life and performance of the EPS cement sandwich wall panel, and following standardized procedures can prevent common issues such as cracks, misalignment, and poor sealing. Before starting installation, workers must first clean the base floor and mark precise positioning lines for each panel, ensuring that the vertical deviation of the wall does not exceed 3mm per 3 meters. The first step is to place specialized U-shaped galvanized steel tracks on the floor and ceiling, which act as secure anchors to hold the EPS cement sandwich wall panel in place.
When lifting the EPS cement sandwich wall panel into position, it is important to use suction lifting tools instead of sharp clamps, to avoid damaging the cement surface layer. After inserting the panel into the top and bottom tracks, contractors should adjust the panel to the exact marked position and then fill the gaps between adjacent panels with specialized anti-crack mortar. It is recommended to leave a 5mm expansion joint between each EPS cement sandwich wall panel, which can absorb slight structural deformation caused by temperature changes and effectively prevent surface cracks.
After all panels are installed, the final step is to embed alkali-resistant fiberglass mesh tape over all the joints before applying the finishing plaster layer. This extra reinforcement measure can increase the wall’s impact resistance by more than 25%. For exterior applications, adding a waterproof coating on the surface of the EPS cement sandwich wall panel will further enhance its weather resistance, allowing the wall to withstand more than 20 years of exposure to rain, strong sunlight, and temperature fluctuations without performance degradation.