Introduction: Fast, Clean, Professional Installation
One of the biggest advantages of EPS cement sandwich panels is how quickly and easily they can be installed. Unlike traditional brick walls that require skilled masons, wet mortar, and long curing times, EPS panels can be installed by general construction workers with basic training.
This guide walks you through the complete installation process, from preparation to finishing, so you can successfully install EPS wall panels on your project.
Before You Begin: Tools and Materials
Required Tools:
- Circular saw or hand saw (for cutting panels)
- Spirit level (1-2 meters)
- Rubber mallet
- Trowel (for mortar/adhesive)
- Plumb bob or laser level
- Measuring tape
- Chalk line
- Drill with mixing paddle
- Crowbar or panel lifter
- Safety equipment (gloves, goggles, dust mask)
Required Materials:
- EPS cement sandwich panels
- Cement mortar or panel adhesive
- Steel angles or L-brackets (for fixing)
- Steel bars or dowels (6-8mm diameter)
- Joint tape (fiber mesh)
- Joint compound (skim coat material)
- U-shaped tracks (steel or aluminum, optional)
Step 1: Site Preparation
1.1 Clear the Work Area
- Remove debris, dust, and obstacles from the floor
- Ensure the floor surface is level and clean
- Check that ceiling/floor slab is structurally sound
1.2 Mark Panel Layout
- Using a chalk line, mark the position of walls on the floor
- Mark corresponding lines on the ceiling
- Use a plumb bob or laser level to ensure floor and ceiling lines align
- Mark door and window openings
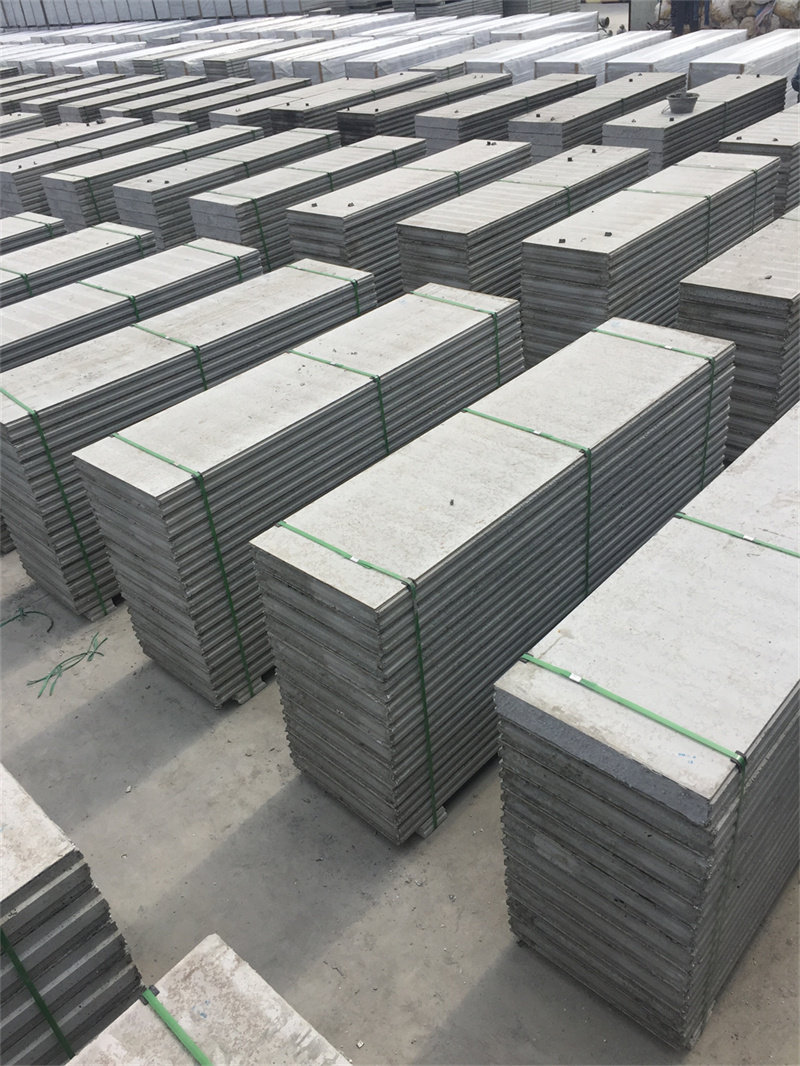
1.3 Check Panel Delivery
- Verify panel quantity and dimensions
- Inspect for damage during transport
- Stack panels near installation area (but not blocking work space)
- Store panels on flat surface, protected from rain
Step 2: Install Track System (Optional but Recommended)
For professional results, install U-shaped tracks at floor and ceiling:
2.1 Cut Tracks to Length
- Measure wall length
- Cut tracks to size using metal shears or angle grinder
- Leave gaps at door and window openings
2.2 Fix Floor Tracks
- Align track with floor chalk line
- Fix to concrete using expansion bolts or concrete nails
- Spacing: 400-600mm between fixings
- Ensure track is perfectly straight
2.3 Fix Ceiling Tracks
- Align with ceiling chalk line
- Use expansion bolts for concrete ceilings
- For wooden structures, use wood screws
- Verify alignment with floor track using plumb bob
Step 3: Mix Adhesive/Mortar
3.1 Prepare Cement Mortar
- Mix cement, sand, and water in ratio 1:3:0.5
- Alternatively, use pre-mixed panel adhesive
- Consistency should be workable but not runny
3.2 Mixing Tips
- Use drill with mixing paddle for consistency
- Mix only amount usable within 30-45 minutes
- Keep mixing bucket clean between batches
Step 4: Install First Panel
The first panel is critical—it sets the alignment for all subsequent panels.
4.1 Apply Adhesive
- Apply mortar/adhesive along the bottom track (or floor line)
- Apply adhesive on the groove side of the panel
- Apply adhesive on the vertical edge where panel will connect to wall
4.2 Position Panel
- Tilt panel upright (two workers recommended)
- Position panel with tongue facing direction of wall construction
- Align with floor and ceiling marks
4.3 Check Alignment
- Use spirit level to check vertical alignment (plumb)
- Use spirit level to check horizontal level
- Adjust using rubber mallet if needed
4.4 Fix Panel
- Insert steel bar or dowel through panel into floor (if no track)
- Fix top edge with L-bracket to ceiling
- Ensure panel is stable before releasing
Tip: Take extra time with the first panel. A properly aligned first panel makes the rest of the job much easier.
Step 5: Install Subsequent Panels
5.1 Apply Adhesive
- Apply adhesive on the groove of the installed panel
- Apply adhesive on the bottom track/floor
5.2 Position Next Panel
- Tilt panel upright
- Slide the groove over the tongue of previous panel
- Push firmly to create tight joint
5.3 Align and Secure
- Check vertical alignment with spirit level
- Tap with rubber mallet for tight joints
- Secure with steel angles at top and bottom (every second panel)
5.4 Continue Installation
- Repeat process for all panels
- For panels at corners, additional fixing is required
- Maintain consistent joint tightness throughout
Step 6: Cutting Panels for Openings
6.1 Mark Cut Lines
- Measure opening dimensions precisely
- Mark cut lines on panel using straight edge
- Account for door/window frame thickness
6.2 Make Cuts
- Use circular saw for straight cuts
- Cut from finished face to avoid chipping
- For small adjustments, use hand saw or rasp
6.3 Install Cut Panels
- Position cut panel carefully
- Apply adhesive to all cut edges
- Fix securely at all edges
Step 7: Corner Treatment
External Corners:
- Cut panels to create clean corner joint
- Apply adhesive to both meeting edges
- Use corner bead or angle for protection
- Additional steel fixing at corners
Internal Corners:
- Panels can interlock at internal corners
- Apply adhesive generously
- Use corner tape during finishing
Step 8: Joint Treatment
8.1 Clean Joints
- Remove excess adhesive from joints
- Fill any gaps with mortar
- Allow to cure for 2-4 hours
8.2 Apply Joint Tape
- Apply fiber mesh tape over all panel joints
- Press tape into fresh joint compound or adhesive
- Overlap tape at intersections by 50mm
8.3 First Coat
- Apply thin layer of joint compound over tape
- Feather edges 100-150mm on each side
- Allow to dry completely (4-8 hours)
8.4 Second Coat
- Apply second layer, wider than first
- Feather edges to blend with panel surface
- Allow to dry completely
8.5 Sand and Finish
- Lightly sand when completely dry
- Wipe away dust
- Surface is now ready for paint or wallpaper
Step 9: Electrical and Plumbing Installation
9.1 Create Chases
- Mark locations for electrical boxes and pipes
- Cut channels into panel surface using angle grinder
- Depth: typically 20-30mm (do not cut through panel)
9.2 Install Conduits and Boxes
- Place electrical conduits in channels
- Install switch/socket boxes
- Secure with clips or adhesive
9.3 Cover Chases
- Fill channels with cement mortar or plaster
- Apply tape over repaired areas
- Finish to match surrounding surface
Step 10: Final Inspection and Touch-Up
10.1 Inspect All Panels
- Check for any loose panels
- Verify all joints are properly taped
- Look for any damage or chips
10.2 Make Repairs
- Fill any chips or holes with cement-based filler
- Sand smooth when dry
- Touch up joint compound as needed
10.3 Prepare for Finishing
- Remove all dust and debris
- Prime surface if required
- Apply paint, wallpaper, or tiles as desired
Installation Timeline Example
For a standard room (4m x 4m, 3m ceiling height):
Day 1 Morning:
- Site preparation and layout: 1 hour
- Track installation: 1 hour
- Panel installation: 3-4 hours
Day 1 Afternoon:
- Joint treatment (first coat): 1-2 hours
- Electrical chases: 1 hour
Day 2 Morning:
- Joint treatment (second coat): 1-2 hours
- Drying time: 4-6 hours
Day 2 Afternoon:
- Sanding and surface preparation: 1 hour
- Ready for painting
Total: 2 days for complete wall installation and finishing
Professional Tips for Best Results
Tip 1: Panel Orientation
Always install panels with tongue facing the direction of work. This allows each new panel to slide into the previous one easily.
Tip 2: Tight Joints
Push panels firmly together. Loose joints create weak points and visible seams. Use rubber mallet to tap panels tight.
Tip 3: Work Clean
Wipe away excess adhesive immediately. Dried adhesive is difficult to remove and affects finishing quality.
Tip 4: Stagger Joints
If using shorter panels, stagger the joints between rows to create stronger walls.
Tip 5: Allow Movement
Leave 10-15mm gap at top of wall for structural movement. Fill with flexible sealant if required.
Tip 6: Protect During Construction
Protect finished panels from impact during ongoing construction. Install corner guards in high-traffic areas.
Common Mistakes to Avoid
Mistake 1: Not Using Spirit Level
Result: Walls that are not vertical create problems for doors, cabinets, and finishing.
Mistake 2: Dry Joints
Result: Applying panels without adhesive in joints creates weak walls and visible seams.
Mistake 3: Cutting Panels Wrong Size
Result: Gaps that are difficult to fill. Always measure twice, cut once.
Mistake 4: Insufficient Fixing
Result: Panels may shift or become loose over time. Fix top and bottom of every panel.
Mistake 5: Rushing Joint Finishing
Result: Visible seams after painting. Take time with joint compound application and sanding.
Safety Guidelines
Personal Protective Equipment:
- Safety glasses when cutting panels
- Dust mask when cutting or sanding
- Gloves when handling adhesive and joint compound
- Steel-toe boots on construction sites
Lifting Safety:
- EPS panels 50-60kg per panel—use two workers for lifting
- Lift with legs, not back
- Use panel lifter for high placements
Cutting Safety:
- Keep hands clear of saw blade
- Support panel properly during cutting
- Cut in well-ventilated area
When to Call a Professional
While DIY installation is possible, consider hiring professionals for:
- Large projects (>100 square meters)
- High ceilings (>3.5 meters)
- Complex shapes and many openings
- Load-bearing wall applications
- When structural engineering is required
Hanmero provides on-site technical support for large projects and can recommend certified installers in many regions.
Conclusion: Anyone Can Do It
Installing EPS cement sandwich panels is a straightforward process that can be mastered by any construction worker with basic skills. The key advantages over traditional construction:
- No special skills required
- No wet mortar mixing for each course
- No curing time between courses
- Clean, dry construction process
- Immediate surface finishing possible
By following this guide and taking care with alignment and joints, you can achieve professional-quality walls in a fraction of the time required for traditional brick or block construction.
Ready to start your project? Contact Hanmero for technical support, free samples, and product specifications.
FAQ
Q: How many people are needed to install EPS panels?
A: A team of 2-3 workers is ideal. Two people to lift and position panels, one to apply adhesive and check alignment.
Q: What is the installation speed?
A: A trained 3-person team can install 50-80 square meters per day, including joint treatment.
Q: Do I need special tools?
A: No. Standard construction tools—circular saw, spirit level, trowel—are sufficient. No specialized equipment required.
Q: Can panels be installed on wooden floors?
A: Yes. Fix bottom track with wood screws, and use appropriate fixings for wooden ceiling structures.
Q: How do I cut openings for doors and windows?
A: Mark the opening, cut with circular saw, and install additional framing around the opening if required.
Q: Can I hang heavy items on EPS panel walls?
A: Yes. Use expansion bolts for heavy items (TVs, cabinets, AC units). Single-point hanging strength exceeds 50kg.
Q: Is professional installation recommended?
A: For DIY projects, follow this guide carefully. For large or complex projects, professional installation ensures best results.