When it comes to modern building materials, efficiency, durability, and cost-effectiveness are the triple threat every contractor chases. If you’ve been looking for a solution that checks all these boxes, you’ve likely come across the term EPS cement sandwich panel.
But what exactly makes this composite material a game-changer for the global construction industry? In this comprehensive guide, we’ll dive deep into what EPS cement sandwich panels are, their standout benefits, and why they are rapidly replacing traditional brick-and-mortar walls.
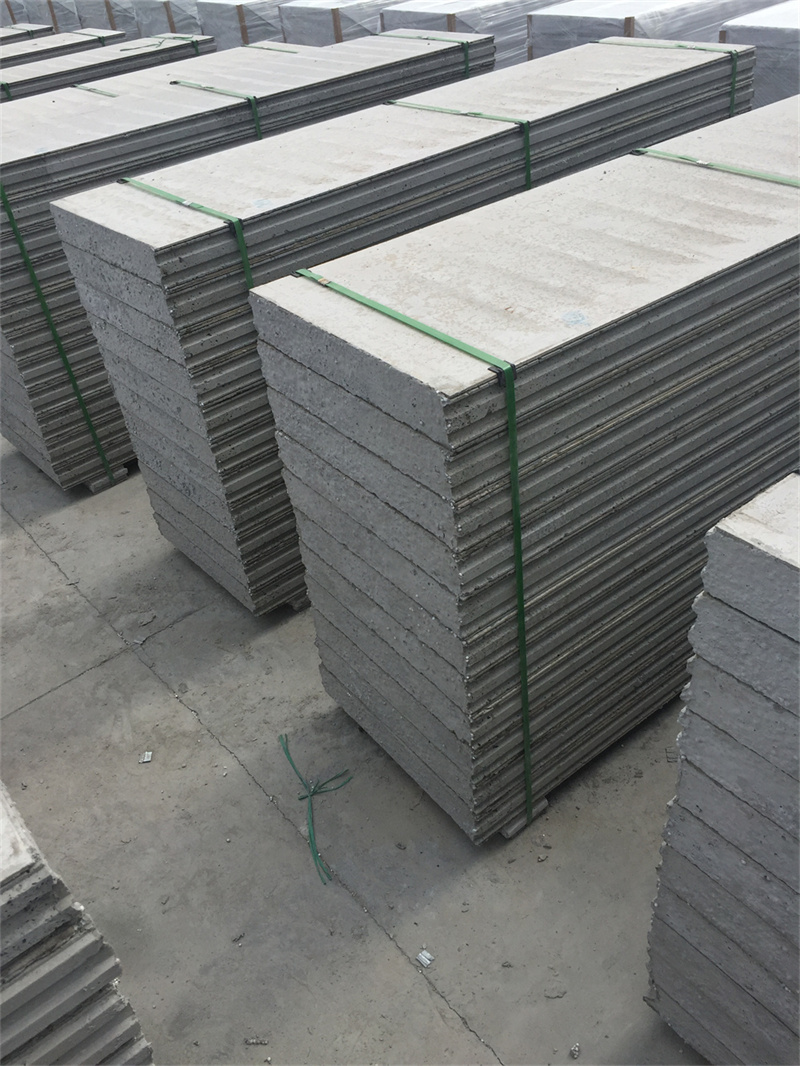
An EPS cement sandwich panel is a lightweight, non-load-bearing composite wall panel used widely for interior walls, exterior walls, roofs, and floors.
The term "sandwich" perfectly describes its structure:
The Core: A solid mixture of Expanded Polystyrene (EPS) foam beads, high-grade cement, sand, and special additives.
The Faces: Two layers of heavy-duty calcium silicate boards or fiber cement boards enclosing the core.
This unique combination blends the strength and fire resistance of concrete with the incredible insulation and lightweight properties of EPS foam.
If you are evaluating materials for your next residential, commercial, or industrial project, here is why integrating EPS cement sandwich panels is a smart investment.
Energy efficiency is no longer optional; it’s a building code requirement. The EPS foam core acts as a highly effective thermal barrier, significantly reducing heating and cooling costs. Additionally, these panels offer excellent acoustic performance, dampening sound transmission between rooms—perfect for apartments, hotels, and office spaces.
Time is money on a construction site. Because an EPS cement sandwich panel is prefabricated and lightweight, it can be installed up to 3 times faster than traditional brickwork. The male-and-female groove design ensures panels lock together seamlessly, drastically reducing labor costs and shortening project timelines.
Safety is paramount. High-quality EPS cement sandwich panels carry impressive fire ratings (often up to 4 hours at 1000°C). They do not emit toxic gases during a fire, providing crucial evacuation time and protecting structural integrity.
Compared to thick brick walls, EPS cement sandwich panels are much thinner (ranging from 60mm to 150mm+) while maintaining high strength. This thin profile can increase usable floor space by 3% to 5%. Furthermore, being lightweight means they reduce the overall dead load of the building, allowing for savings on foundation engineering.
As green building practices dominate the industry, these panels stand out. They are 100% asbestos-free, generate minimal construction waste on-site, and are fully recyclable.
When sourcing EPS cement sandwich panels, matching the right thickness to your specific application is crucial. Here is a quick reference guide:
|
Recommended Thickness | Key Benefit Focus | |
| Interior Partition Walls | 60mm – 90mm | Space-saving, quick installation | |
| Exterior Walls | 100mm – 120mm | Superior weather resistance, insulation | |
| Roof & Floor Systems | 120mm – 150mm+ | High load capacity, thermal barrier |
While professional installation is recommended, the process is straightforward and follows these core steps:
Alignment & Clearing: Mark the positioning lines on the floor, ceiling, and beams.
Cutting: Use a handheld electric saw to cut the panels to the required dimensions.
Applying Adhesive: Apply cement polymer mortar or specialized polyurethane adhesive along the grooves of the panel.
Positioning & Fixing: Correct the panel alignment using a crowbar and level. Secure it temporarily with wooden wedges.
Reinforcement: Drive steel anchors (L-shaped or straight bars) through the joints into the concrete structure for maximum stability.
Grouting: Fill the joints with anti-crack mortar and apply fiberglass mesh tape to prevent future cracking before final painting or tiling.


